Hola!
Hoy es mi turno en el calendario de Adviento de Matxalen en el cual llevo colaborando desde 2018. Para mí es un honor y espero que les sea útil el tutorial que os traigo. Como veis en la foto superior, es un palet (en Tedy venden alguno, pero son un poco más grandes, un poco fuera de escala en mi opinión, aunque palets hay de muchos tamaños). Hoy en día los palets son muy populares en decoración y eso es lo que propongo con este, hacer un palet y convertirlo en una mesita moderna para adornar un rincón.
Today is my turn in Matxalen´s Advent calendar which I have been collaborating with since 2018. For me it is an honor and I hope that the tutorial that I bring you will be useful. As you can see in the photo above it is a pallet (Tedy sells some but they are bigger, a little bit out scale in my opinion, but pallets come in many different sizes). Nowadays pallets are very popular in decoration and that is what I propose with this one, make a pallet and turn it into a modern coffee table to decorate a corner.
Empezamos/ Let´s start:
Los materiales utilizados son palitos de polos, pero como no encontré los míos jeje, utilicé estos palitos de pinchos que sí tenía, un listón de madera de 1cm de grosor, pegamento y 4 cuentas plásticas redondas que olvidé poner en la foto.
The materials used are popsicle sticks, since I couldn't find mine, lol, I used these sticks that I did have, a 1 cm thick wooden strip, glue and 4 round plastic beads that I forgot to put in the photo.
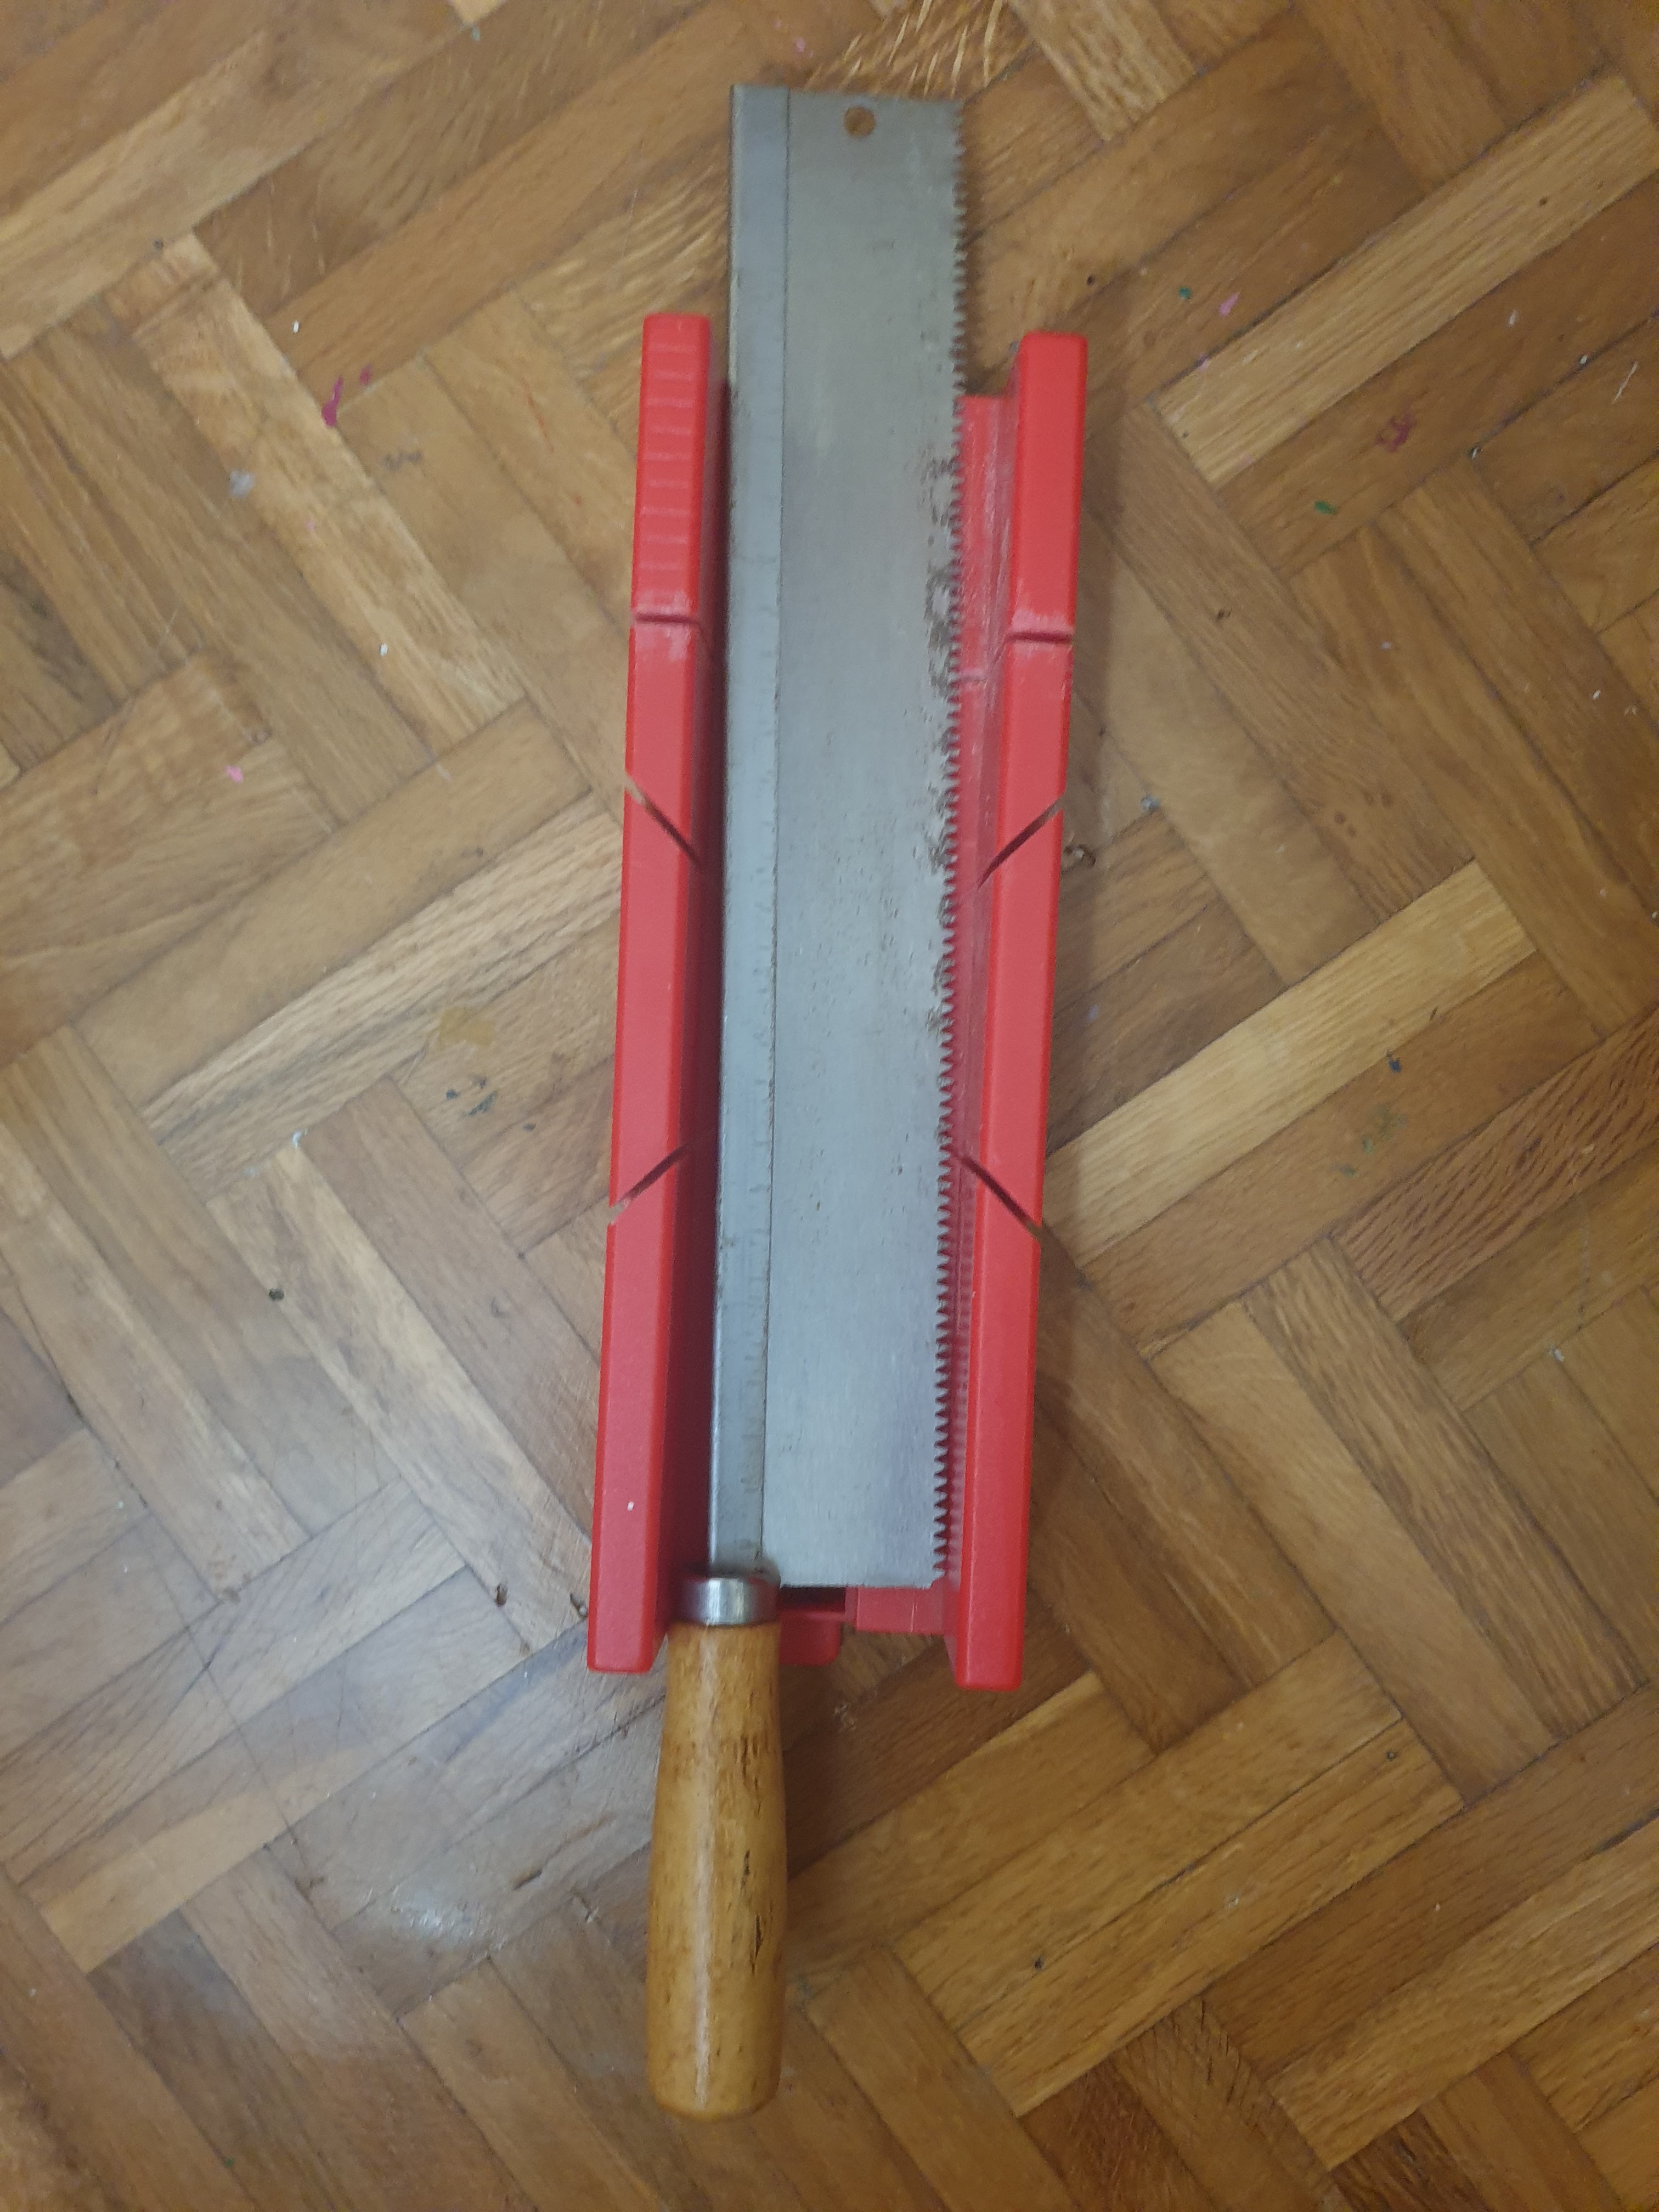
Las herramientas que usé son una segueta para cortar el listón de madera y cualquier otra herramienta que uséis para cortar los palos de polo, normalmente yo uso una tijera de jardinería que no sale en la foto.
The tools that I used were a hacksaw to cut the wooden strip and any other tool that you use to cut the popsicle sticks, normally I use gardening scissors that don't appear in the photo.
Lo sé, es muy grande, pero es la que tengo y hace el trabajo.
I know, it´s too big, but it´s what I have and does the job.
El primer paso es cortar 14 palitos de polo de 7 cm, una vez cortados lijar los bordes (olvidé poner lija entre los materiales 😁).
The first step is to cut 14 7 cm popsicle sticks, once cut, sand the edges (I forgot to put sandpaper among the materials 😁).
Luego cortar con la segueta el listón de madera en 6 piezas de 1cm, así quedarán piezas cuadradas de 1 cm x 1 cm. Lijar una vez cortados.
Then cut the wooden strip into 6 pieces of 1 cm with the hacksaw, so there will be square pieces of 1 cm x 1 cm. Sand once cut.
Ya estamos listos para empezar a pegar/ We are ready to start glueing.
Pegamos los cubitos de madera en cada extremo entre 2 palitos, como muestro en la foto.
We glue the wooden cubes at each end between 2 sticks, as I show in the photo.
Lo ideal es dejar secar el pegamento en cada paso, así no se os tuerce. Lo siguiente, una vez secas las piezas anteriores es pegarlas en tres palitos colocados a igual distancia, esta es la base del palet. Os muestro:
The ideal is to let the glue dry at each step, so the pieces don´t move . The next thing, once the previous pieces are dry, is to glue them on three sticks placed at equal distances, this is the base of the pallet. I'll show you:
Veis lo que os digo, como soy muy impaciente y quería tomar las fotos, no esperé a que el pegamento secara y se movió una pieza al moverla y tomar la foto. No os preocupeis, mientras el pegamento está mojado se puede corregir. Primero puse dos piezas y después la tercera para distribuirlas bien, así:
You see what I'm telling you, since I'm very impatient and I wanted to take the photos, I didn't wait for the glue to dry and a piece moved when I moved it for the photo. Don't worry, while the glue is wet it can be corrected. First I put two pieces and then the third to distribute them well, like this:
Hasta ahora hemos utilizado 9 palitos, así que por último pegamos los 5 palitos restantes encima (es decir, el orden es 3 palitos, sobre ellos las piezas con los cubitos y sobre ellos los 5 palitos restantes), los colocamos a igual distancia y ya está.
So far we have used 9 sticks, so finally we glue the 5 remaining sticks on top (that is, the order is 3 sticks, on them the pieces with the cubes and on them the 5 remaining sticks), we place them at equal distance and that's it is.
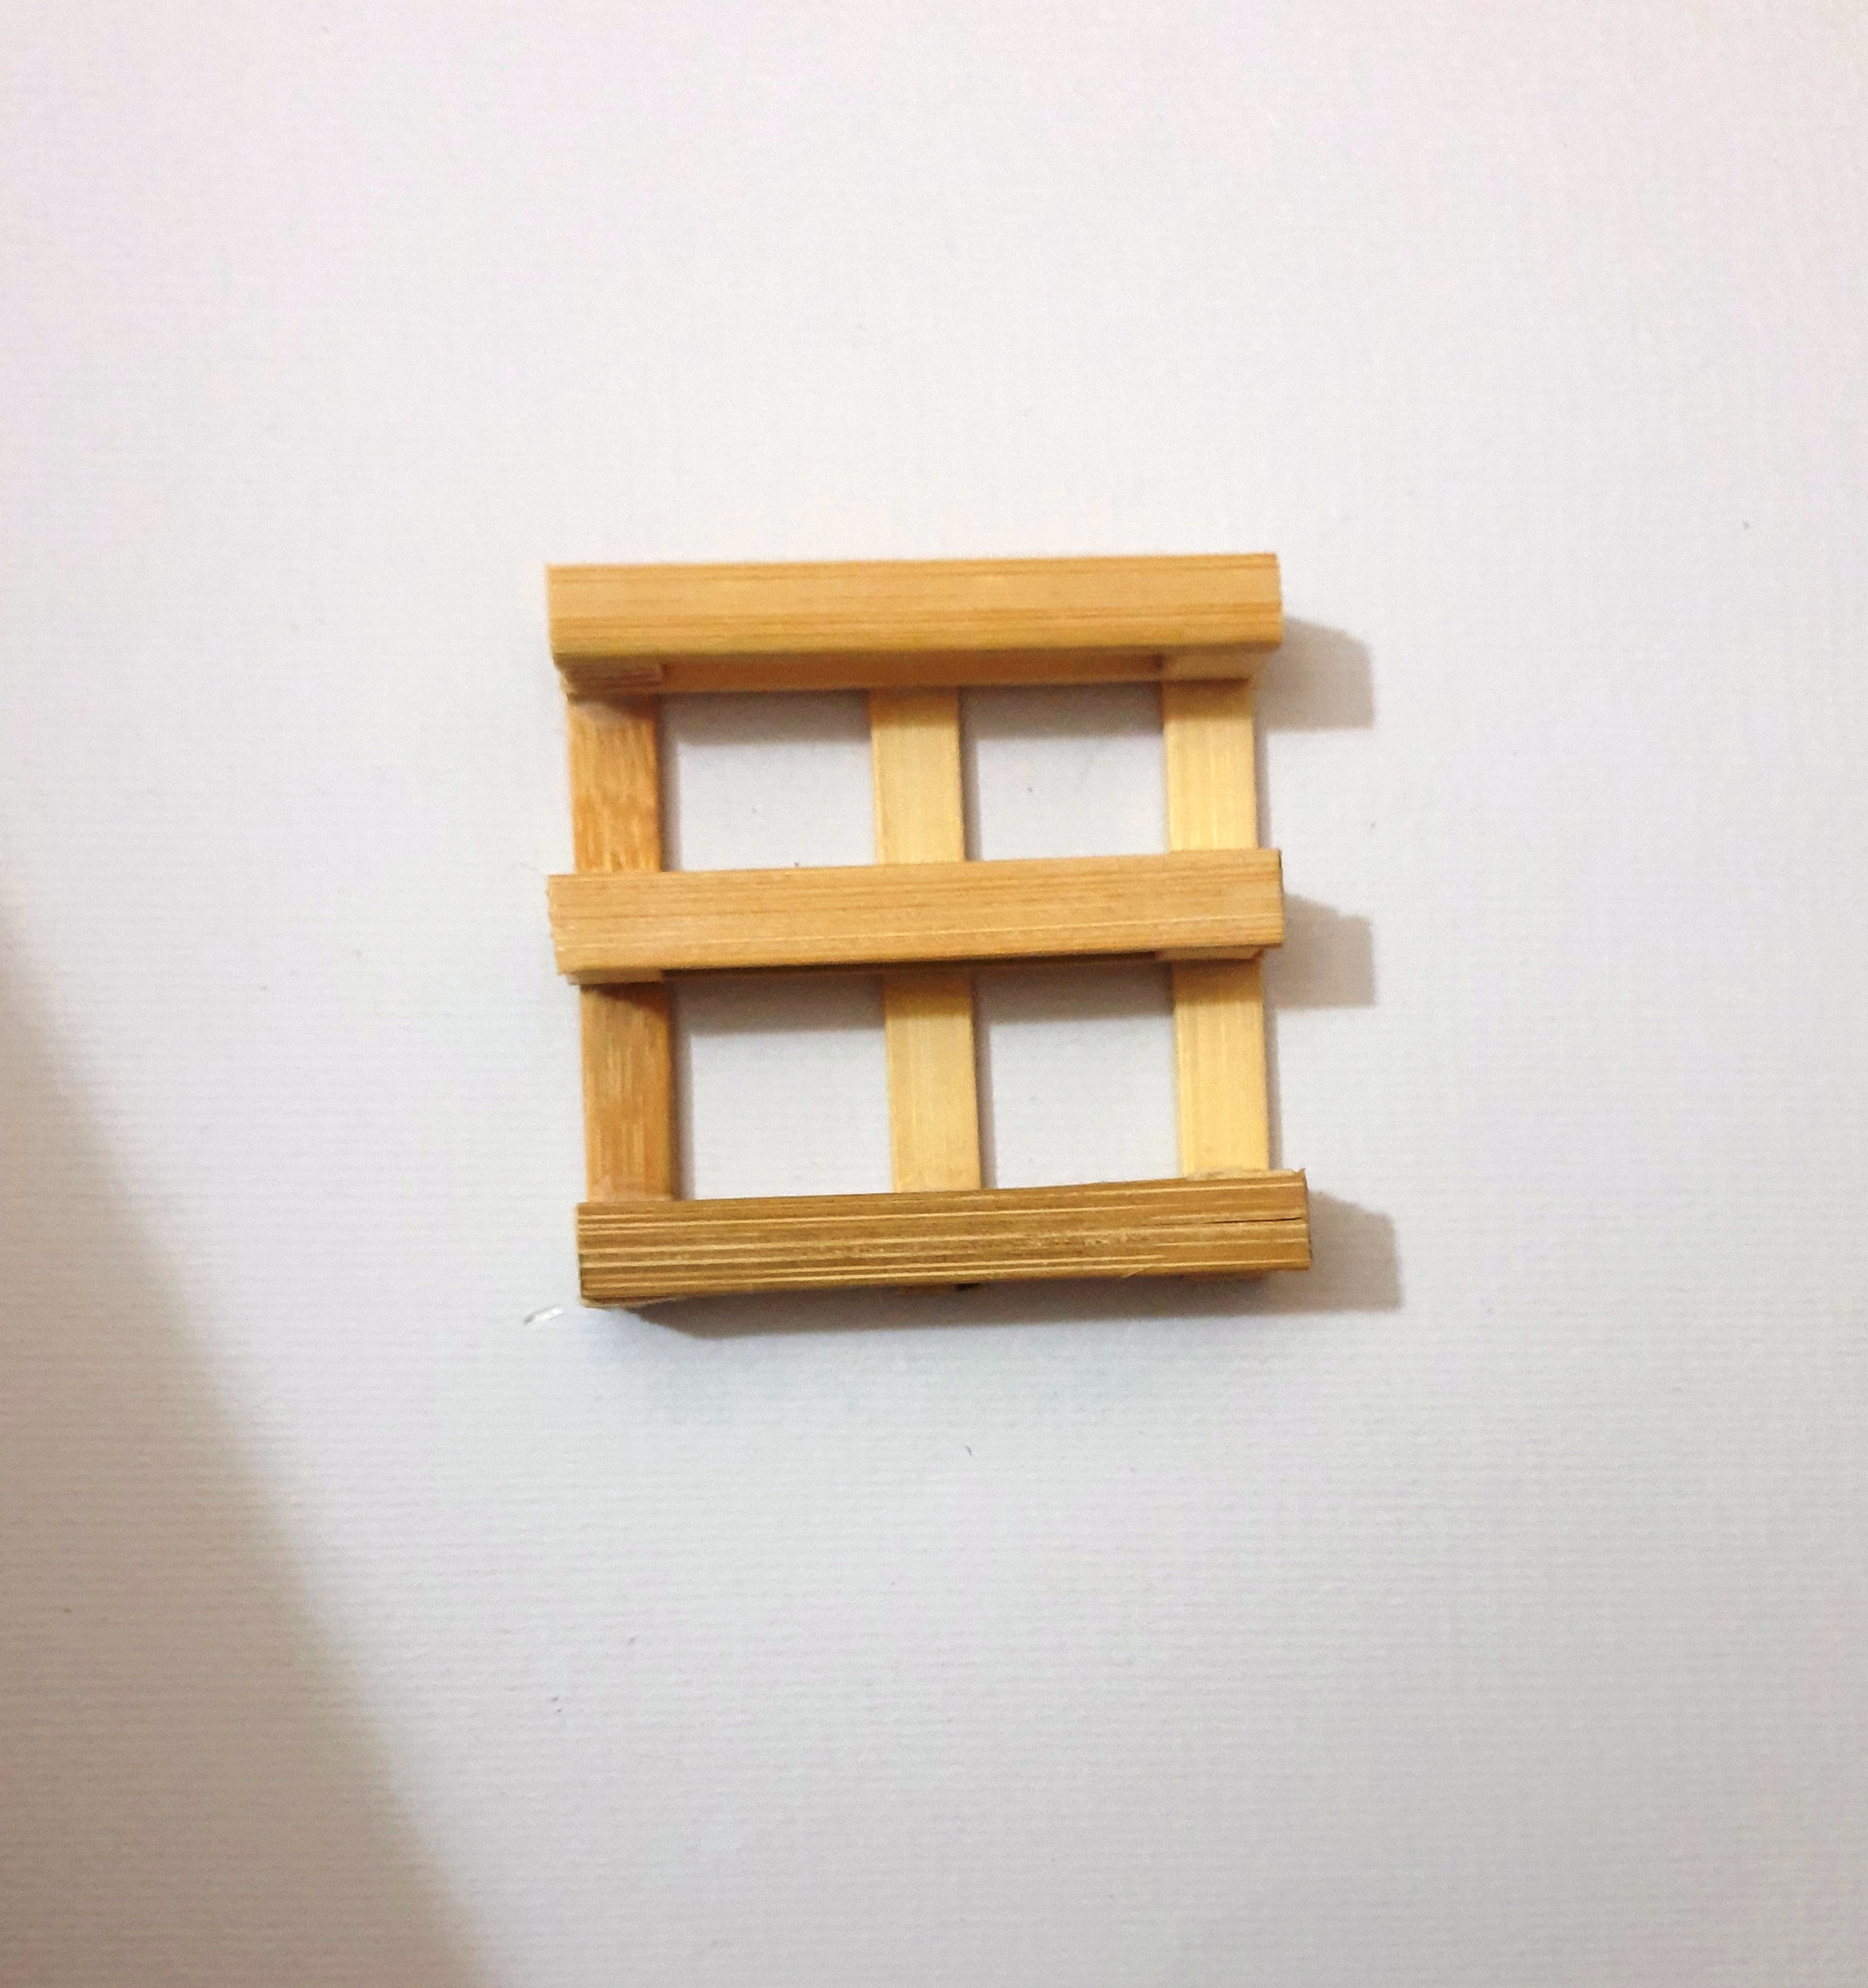
Lo veis? Aquí ya tenemos nuestro palet terminado.
Esta próxima foto es un intento por ilustrar cómo van las capas por si acaso no lo he explicado bien.
Do you see it? Here we have our finished pallet.
This next photo is an attempt to illustrate how the layers go just in case I haven´t explained it very well.
Y como os dije que la idea es utilizar el pallet como mesita, le pegamos las 4 cuentas redondas a modo de patas de rueda:
And since I told you that the idea is to use the pallet as a small table, we glue the 4 round beads on it as wheel legs:
Y así queda:
Ahora solo falta colocar en su sitio y decorar.
And so this is the result:
Now all that remains is to place it in its place and decorate.
Os gusta? Espero que sí y que os haya parecido útil y os animeis a hacerla es muy fácil y resultona y puede ir muy bien en una casita moderna. Esto es todo.
Do you like it? I hope so and that you have found it useful and are encouraged to do it, it is very easy and successful and it can go very well in a modern house. This is all.
Les deseo unas fiestas maravillosas y que el 2023 sea un año positivo para todos. Mucha salud, amor y bienestar.
I wish you happy holidays and may 2023 be a positive year for all of you. Lots of health, love and well-being.
Alex 😘😘😘


Una medida perfecta de palet, Muchas gracias por el tutorial!
ResponderEliminarFelices Fiestas!!
Besos.
en un pis pas mesita de centro a medida, graciasss...y feliz navidad!
ResponderEliminarSii.. Últimamente es un elemento que se ve mucho.. Muy buen tuto.wueda genial. Muchas gracias. Y muy Feliz Navidad para ti también. Bss.
ResponderEliminarGracias Alexandra por el tutorial, hace años hice yo también una mesita parecida y la verdad es que en decoración real se ve mucho, así es que en las casitas debe verse también para seguir las modas.
ResponderEliminarGracias por participar en el calendario, te deseo una Feliz Navidad.
Un beso
Estupendo tutorial, muy molon!!.
ResponderEliminarGracias por compartir.
Feliz Navidad, besotes
Ana (analabea)
Thank you, dear Alex. It's a great tutorial, well explained and easy to follow.
ResponderEliminarHugs, Drora
Vpy a hacersela a mi hijo que le encanta trastear con los pales haciendo cosas.
ResponderEliminarUn saludo
You've explained it VERY WELL! Thanks for this great tutorial and the lovely and inspiring idea. Merry Christmas to you and yours and with best wishes for the New Year!
ResponderEliminarBirgit
¡Qué bueno! Me encanta.
ResponderEliminarFun tutorial Alex, and useful for lots of things now - pallets are popular! Take care and merry Christmas to you!
ResponderEliminarMuchas gracias Alex, un tutorial bonito y práctico.
ResponderEliminarYo, por suerte, los encuentro a tamaño pequeño y así me ahorro tener que hacerlos 😉
Es super chula
ResponderEliminar